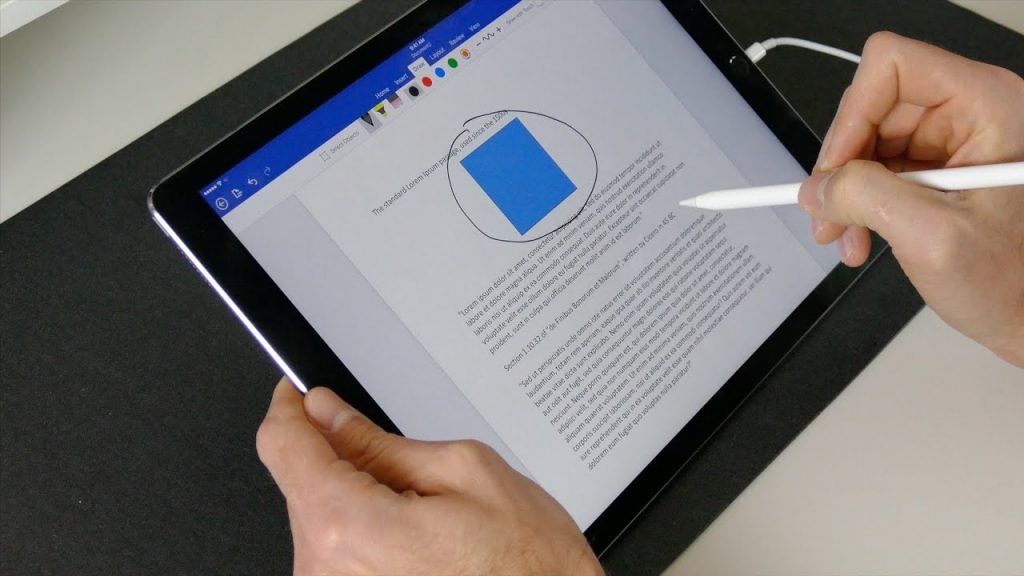
Although widely used and rated as the top input device by all computer users, the keyboard might not be the greatest or most efficient tool when using special characters or a foreign in a document.
A stylus comes in handy to help you achieve this, and learning how to write in google docs with a stylus is quite an easy process.
Google docs let you input these characters by drawing on the document using a stylus on your tablet or even a touch screen PC.
Ensure that you have the new input tool by navigating through settings and looking for the general tab option.
Related : Best Stylus for ChromeBook
Related : Best Stylus for ProCreate
How to Write on Google Docs with Stylus

- Open Gmail settings
- Under the general tabs, tap on the ‘show all languages’ options and enable input tools.
- Choose your language by scrolling through the variety of languages displayed on the left column. Make sure to choose the option that has a small pencil icon next to it.
- Add that option to the google account which you have also signed in with the google docs.
- Save these changes and voila! You are good to go.
4 Steps to Write on Google Docs Using a Stylus
A stylus can be used combined with the on-screen keyboard to allow you to place your inputs into documents.
If you are using a tablet or a mobile phone that allows a stylus, the on-screen keyboard automatically opens up when you want to edit or start up a new document on google docs.
This works when you open up any text box or app that you can type in, but for this case, we will talk about google docs.
To write on google docs with a stylus, follow the steps listed below.
- Open google docs.
- Tap into the text box, and the handwriting pad will appear. It does not tap on the arrow on the top of the virtual keyboard, which allows you to handwrite.
- On the pad that appears, you can write text with your stylus.
- In case you make any errors while writing, pad controls re at your disposal to ensure that your delivery great and error-free content.
These keyboard pad controls include:
- Undo – this is a backwards pointed arrow on the right and allows you to reverse a previously written character.
- Insert a new line – tap on entering that is on the right-hand side of the pad.
- A scrollbar – this will appear after you write past the third line to allow you to navigate through all that you have already written for proof-reading purposes. Tap on it and scroll the stylus up and down to navigate.
- Submit- this allows you to clear the writing pad to write fresh and new content on it.
- Insert a word – draw a caret sign on the previously skipped line you desire the new word to be.
- Correct a word – we are prone to errors, and understandably there is a feature to correct that. Just tap and hold on the word with the stylus and tap on the suggestion that will appear.
Can I also draw on Google Docs using a Stylus?
The drawing features of Google Docs and Google Drawing do not allow a stylus pen or even freehand drawing.
While you may be limited to a few basic types of illustrations, you can control them using a mouse.
Using Google Docs as a drawing pad isn’t as obvious as it may seem.
However, you can add shapes, word art, create diagrams among other activities.
If you crave for more, they can also access the Google Drawings application, which comes with a lot more features than Google Docs.
Adding Drawings in Google Docs can only be accomplished using Google Docs in a browser as the feature isn’t available in the app version for iOS nor Android devices.
Conclusion
You can do much more than you’d imagine using a stylus on Google Docs.
Edit any submitted text, or even annotate PDFs using your digital pen.
We hope Google would improve their compatibility with the stylus to do much more with it than take down notes.
Google Docs could be an artist’s white space for their creation once Google introduces better features with the right potential.